Screen Printing vs Embroidery vs Heat Transfer for Golf Bag Logos
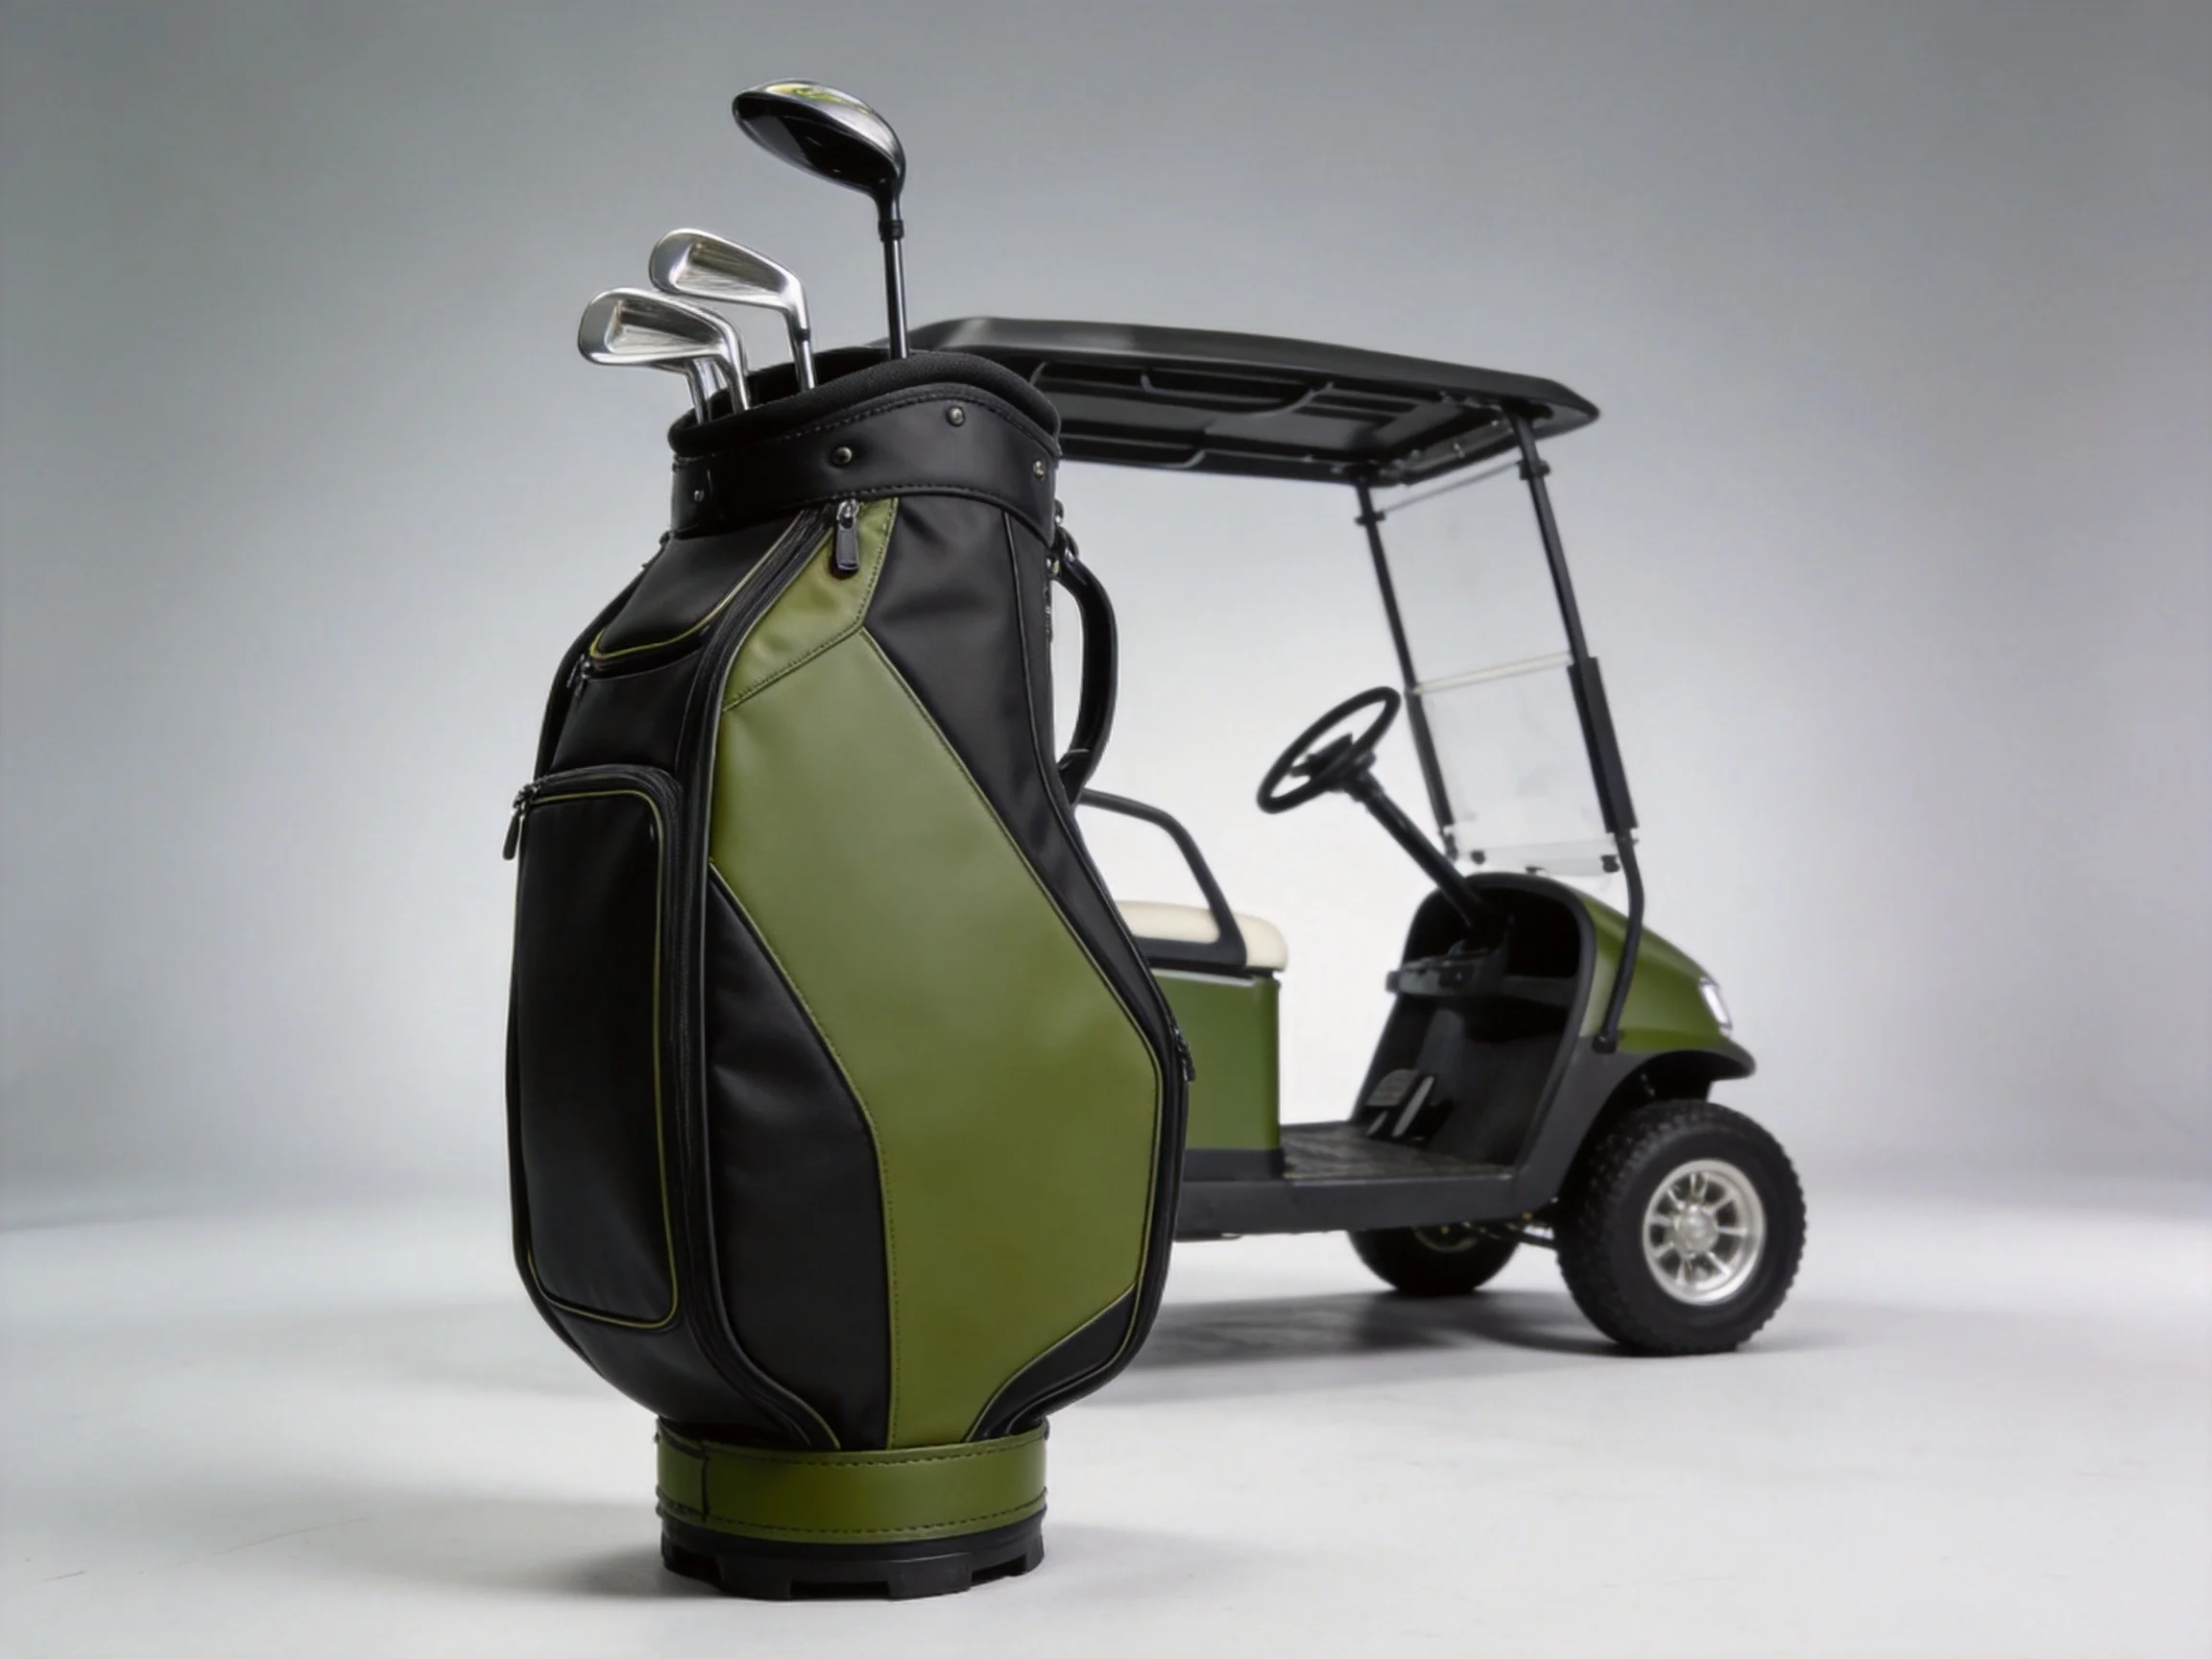
A logo can be the cheapest component on a golf bag and still be the first thing a buyer rejects, because the same artwork behaves differently once it meets ink, thread or film. Screen printing lays flat colour into a coated panel and partly follows the weave. Embroidery builds the mark out of thread and quietly changes how stiff that panel feels. Heat transfer bonds a thin polymer film to the surface, and its success depends almost entirely on temperature, pressure and dwell rather than on design skill. None of the three is a default choice. Each earns its place on a different part of the bag, and most custom programmes end up running two of them on the same model. Minimum order is 200 pieces per colourway; a sample takes 6-10 working days, bulk production 35-50 days, and each lot is released against AQL 2.5 under ISO 2859-1.
What Each Method Physically Does to the Panel
A golf bag panel is a coated textile with a finish, a weave direction and a small amount of stretch, so every decoration method is really a modification of that surface. Screen printing pushes a pigmented film into the cloth and cures it in place; the dried ink layer is 20-60 microns thick and takes on the texture underneath, which is why a solid mark on 600D polyester reads slightly pebbled rather than glassy. Embroidery sews 8-12 penetrations per millimetre, so the panel gains local stiffness, gains a little weight and loses a small amount of tear strength around the needle field. Heat transfer presses a 60-120 micron polyurethane or TPU film against the surface and relies on heat and pressure to wet out the adhesive; the bond is a chemical and mechanical marriage to the topcoat, not to the artwork.
Because most cart and stand bags use 600D polyester with a polyurethane back-coating, the decoration route has to be selected with that coating in mind. Aggressive solvent inks can swell a thin PU coat. A press running at 170°C can glaze it to a shine that never comes back. A dense embroidery field can pull a light panel out of square by 2-3 mm across a 90 mm crest. The fabric is not a neutral canvas, and the decoration is never purely cosmetic.
That is why method choice is usually settled by placement rather than by the artwork file. Flat pocket faces and side panels take print. Collar bands, front crests and small wordmarks take embroidery. PU trim, curved pockets and photographic multi-colour marks take transfer. Once placement is fixed, the cost and durability conversation becomes specific instead of theoretical.
It also helps to know what the buyer will actually judge on arrival. A print is judged on opacity and edge sharpness. An embroidery is judged on density, backing show-through and whether the panel around it lies flat. A transfer is judged on whether the edge is visible and whether the film has already begun to lift. Three different failure signatures, three different inspection routines.
Related reading: PU vs PVC Leather in Golf Bag Trim Manufacturing
Screen Printing: Mesh, Ink and Colour Build
Bag printing is flatbed work on cut panels, not garment carousel work on a finished product. Each colour needs its own screen, its own pass and its own registration, so a four-colour mark is four setup charges and four chances to drift. Registration on a flat coated panel holds to about ±1 mm, which is fine for a wordmark and marginal for tight multi-colour illustration.
Mesh count decides how much ink lands
Mesh is quoted in threads per centimetre, and the number controls both detail and deposit. A 43-49 thread mesh drops a heavy, opaque layer that covers the weave of 600D and stands up to cart abrasion, at the cost of soft edges. A 77-90 thread mesh is the general-purpose range for bag logos: 0.3 mm minimum line weight, clean edges, decent opacity on dark grounds. A 120 thread mesh holds fine detail on smooth coated nylon but prints thin, and on textured oxford the weave starts to break the image into speckle. Halftones above roughly 45 lines per inch rarely survive the cloth texture and are better replaced with spot colour.
Plastisol, water-based and the cure window
Plastisol is a PVC dispersion that gels and fuses at 150-160°C for 60-90 seconds. It sits on top of the fabric, gives the highest opacity on black or navy and is the workhorse for bag logos. It is also the least flexible: fold a thick plastisol print on a pocket flap a few hundred times and it will craze along the crease. Water-based ink penetrates the yarn, feels softer, cures at 130-150°C and suits large area prints that must not stiffen a panel, but it is translucent on dark grounds and needs a base layer to hit a bright white. Both routes are now normally phthalate-free and azo-free to stay inside restricted substance lists, which is worth confirming in writing rather than assuming.
Cure is where print quality is won or lost. Under-cured ink looks fine on the line and fails three weeks later as a wash-off or a rub-off at the cart strap contact point. Over-cured ink on a PU-coated cloth can bloom, crackle or bond so hard that the coating delaminates with the ink. A simple tape pull and a crock rub on the first off the press catch both ends of that window before a run of 500 panels is committed.
Embroidery: Stitch Count Drives the Price
Embroidery is priced on stitches, and stitches are a function of area, density and detail. A small wordmark of 60 x 20 mm typically lands at 1,000-2,500 stitches. A full crest of 90 x 70 mm with a border, two colours and a small date line runs 4,500-9,000. Density of 4-5 stitches per millimetre is standard for 40-weight polyester thread; pushing higher makes a stiffer, domed badge that resists folding and is more likely to pucker the panel beneath.
Backing, density and panel pull
A 600D polyester panel is light and slightly unstable, so it needs support under the needle. Tear-away backing of 40-60 g/m² is enough for a small crest on a flat pocket. Cut-away backing is the safer choice on thin or stretchy panels and around pocket openings, because it spreads the load and stops the cloth from drawing in. Skip the backing and the result is predictable: the panel cups, the mark domes, and the seam beside it waves. Digitising also matters more than buyers expect. Correct pull compensation, a proper underlay and a sensible stitch angle keep the artwork true; a file digitised for a polo shirt often needs reworking before it goes onto a bag.
Thread choice follows the same logic. Standard 40-weight polyester tolerates abrasion and UV well, and 60-weight lets a 4 mm cap height stay legible where 40-weight would close up. Metallic thread looks excellent in a sample and frays at production speed, so it belongs on low-wear decorative panels only. Three-dimensional foam embroidery adds 2-3 mm of height under the stitch field and is the usual route for a club crest that must read from across a fairway.
Watch the hoop, not just the design. On a finished staff bag, the embroidery field must sit within roughly 300-400 mm of an open edge for the hoop to reach it, and a sewn pocket baffle can block that access completely. The practical fix is to embroider the panel flat, before the pocket is joined to the body. Programmes that leave decoration until the bag is assembled end up either hand-framing the part, which is slow and inconsistent, or moving the logo to a less desirable position.
Heat Transfer: Film, Heat and Dwell Time
Two very different products sit under this heading. Cut-and-weed vinyl starts as a solid PU or TPU film, is plotted and weeded, then pressed onto the panel. Digital transfer prints the artwork onto a carrier film and either presses the printed layer across or, in direct-to-film work, transfers a printed adhesive layer that flexes with the cloth. Cut vinyl gives crisp single-colour marks and excellent stretch recovery. Digital transfer gives photographic colour and gradients that neither print nor embroidery can match on a small area.
Where transfer film gives up
Adhesion is a surface argument. A clean, dry, recently produced coated panel bonds well at 150-160°C for 15-20 seconds at 3-4 bar. A panel with mold release residue, plasticiser bloom or dust bonds poorly no matter how long the press dwells. Low-temperature film grades exist for coated nylon and thin PU and run at 130-140°C to avoid glazing the topcoat. The failures cluster at the same places every time: sharp corners peel first, an edge laid across a seam lifts as the seam flexes, and film applied over PVC trim can blister because migrating plasticiser attacks the adhesive. Below about -10°C a stiff film can craze at a fold, which matters for a bag that lives in a car trunk through a northern winter.
A Direct Comparison of the Three Routes
Numbers below are indicative for a 70 x 50 mm mark on a 600D PU-backed panel, quoted in US dollars at 500 pieces. They are meant to frame a decision, not to replace a quotation on a specific artwork.
| Method | Setup per design | Unit cost at 500 pcs | Colour range | Best placement | Life on a bag |
|---|---|---|---|---|---|
| Screen print, 1-3 spot colours | USD 45-90 per colour | USD 0.35-0.90 | 1-4 spot colours | Flat pocket face, side panel | Full bag life, may craze at a hard fold |
| Embroidery | USD 40-120 digitising | USD 0.90-3.50 by stitch count | Up to 12-15 thread colours | Collar band, front crest, pocket | Full bag life, thread abrades on high rub |
| Cut vinyl transfer | USD 30-80 per design | USD 0.60-1.60 | 1-2 spot colours | PU trim, curved pocket, sleeve | 2-4 seasons, edge lift is the risk |
| Digital transfer | USD 50-110 per design | USD 1.20-2.40 | Full colour, gradients | Small multi-colour badge | 1-3 seasons depending on flex |
Read the table by asking which column actually constrains the programme. On a 200-piece club order the setup column dominates, and one-colour print wins easily. On a 2,000-piece retail programme the unit column dominates, and a single-colour print still wins but embroidery closes the gap because thread cost does not scale with volume the way press time does. Colour range usually settles the rest: a four-colour crest with a gradient either becomes a digital transfer or gets simplified to two spot colours and stitched.
Placing a Logo on a Curved, Padded Panel
Placement is where most logo complaints originate, and almost none of them are about the method itself. A bag is a three-dimensional object with a curved top oval, tapered side panels and padded pockets, so a mark that is perfectly centred on a flat artwork file can sit visibly high or outboard on the finished product.
- Set the datum from the top oval centre and the front seam, not from the trimmed panel edge, because trimming tolerance alone is ±2 mm.
- Print or embroider the panel flat, before pockets, piping and binding are joined, so the decoration surface is dimensionally stable.
- For curved pockets, use a shaped platen or a curved hoop rather than forcing a flat tool onto the part.
- Press transfers with a PTFE sheet and a firm even load; a domestic-style press with a small platen gives uneven pressure across a 200 mm panel.
- Inspect placement after assembly against a template, because a 2 mm shift at panel stage can read as 4-5 mm at the finished silhouette.
Collar bands deserve a separate note because they are the most visible logo site on a staff bag and the hardest to decorate late. They are narrow, curved in two directions and usually made from PU trim. Embroidery on that band must run before the collar is attached; a transfer on the same band needs a low-temperature film and a shaped platen, and even then the film has less room to recover than on a flat panel. When a programme asks for a large multi-colour mark on the collar, the honest answer is often to move it to the front pocket and keep the collar to a single-colour stitch.
It is also worth agreeing the visual reference early. A digital mock-up shows colour but not ink opacity, thread sheen or film edge. A physical strike-off on the actual panel, in the actual colourway, is the only reliable approval document, and it is what the staff bag branding guide recommends signing off before bulk.
Durability and Inspection Before Bulk Release
A logo programme should carry its own test plan, separate from the fabric tests, because decoration failures look nothing like textile failures. The checks below are the ones that catch real complaints rather than laboratory curiosities.
| Check | Method | Pass criterion |
|---|---|---|
| Ink adhesion | Cross-hatch, then tape pull at 90° | No ink removal beyond light surface texture |
| Film adhesion | Peel at 180° after 24 h rest | No lift at the edge; film tears before bond fails |
| Abrasion | Rub 500 cycles against 600D at 1 kg | No breakthrough to base cloth |
| Flex crack | Fold 180° at -10°C, 20 cycles | No crack through the decoration |
| Light fastness | ISO 105-B02, blue wool scale | Grade 4 minimum for exterior panels |
| Embroidered panel strength | ASTM D5034 grab test against control | Retained strength within 15% of undecorated panel |
| Placement | Template overlay on finished bag | Within 3 mm of the agreed datum |
Sampling inspection then runs to AQL 2.5 under ISO 2859-1, with the usual critical defects defined in advance: a mark more than 3 mm off datum, a missing colour, a thread break longer than 5 mm, a lifted film edge on the visible face, or ink smeared onto adjacent trim. Minor defects such as a single loose thread end or a faint pebble in a solid print are handled at a different severity level, and writing both lists before the first lot arrives keeps the argument short.
Two practical checks save more money than any lab test. First, run the decoration on the actual production fabric rather than a smooth sample card, because a coated oxford and a plain weave take ink completely differently. Second, keep a signed golden sample for every logo position, sealed and dated. When a second bulk run lands six months later, the golden sample ends the discussion about whether the print has gone darker or the thread colour has drifted.
Cost, MOQ and the Artwork Brief
Decoration is a small share of bag cost and a large share of perceived value, so it is worth costing properly rather than absorbing it into a unit price. Setup is one-off per design and per colour. The recurring cost is press time, thread or film, and the labour of inspection. On a 200-piece run the one-off charges are roughly a third of the total decoration spend; at 2,000 pieces they fall below 5%.
| Cost element | Screen print | Embroidery | Heat transfer |
|---|---|---|---|
| One-off setup | Screen per colour | Digitising, hoop, test sew | Plot file or print setup |
| Recurring material | Ink, mesh wear | Thread, backing | Film or transfer sheet |
| Labour driver | Passes and registration | Stitch count and trims | Weeding and press time |
| Volume behaviour | Falls fast with quantity | Falls moderately | Falls slowly |
Minimums follow the same logic as the rest of the bag programme: 200 pieces per colourway for decoration changes, 100 pieces for a trial order, 500 for a genuinely new development with dedicated tooling or a bespoke platen. Sampling of a logo typically takes 6-10 working days once artwork is approved, and a new mould or bespoke print platen adds 12-15 working days. Bulk decoration sits inside the 35-50 day production window rather than after it, provided artwork is released before fabric cutting. Payment runs on T/T 30/70, and pricing is quoted FOB Xiamen.
The artwork brief does more to prevent rework than any other document. Supply vector files, spot colours named to a Pantone reference, text converted to outlines, and the minimum line weight respected for the chosen method.
- Vector artwork in AI or EPS, with all fonts outlined and no embedded raster logos.
- Pantone reference for every spot colour, plus a CMYK fallback only where digital transfer is used.
- Minimum line weight of 0.3 mm for print, 0.5 mm for embroidery, 0.4 mm for cut vinyl.
- Stitch direction, thread brand and shade number for embroidery, so a second run matches the first.
- Placement drawing with datum lines from the top oval and the front seam, plus a tolerance callout.
- Maximum print area per panel, stated in millimetres, so the design is not scaled to fit later.
QUANZHOU JUNYUAN BAGS has run bag decoration since 2014, with a team that entered the trade in 2004, and the same artwork brief is used across all three routes so a brand can move a mark from print to stitch without redrawing it. A corporate logo printing guide covers the event-driven side of the same decision, where deadlines matter more than long-term abrasion.
The final point is the least technical and the most often missed. A logo is not a graphic placed on a bag; it is a physical layer with a thickness, a stiffness and a failure mode. Choose the layer that suits the part it sits on, agree the tolerance before the first strike-off, and the decoration stops being a source of claims.
Next steps: custom solutions, manufacturing capability, and a quotation request. PU vs PVC leather trim. Golf bag stitch count QC.
Sources and Standards Referenced
- ASTM D5034 Breaking strength and elongation of textile fabrics (grab test)
- ISO 105-B02 Colour fastness to artificial light
- ISO 2859-1 Sampling procedures for inspection by attributes
- ISO 9001 Quality management systems
- ECHA REACH regulation on chemicals in consumer articles
Frequently Asked Questions
Which logo method is cheapest for a small golf bag order?
At 200-300 pieces, single-colour screen printing is almost always the lowest total cost, because one screen covers a large area and the unit price is under a dollar. Embroidery looks cheap per stitch but the digitising fee and slower cycle push the total above print on small runs. Cut vinyl transfer sits between the two. Ask for a quote at your real quantity rather than a unit price from a catalogue, since the ranking inverts above roughly 1,500 pieces.
Can one bag carry screen print, embroidery and a transfer at once?
Yes, and many premium programmes do exactly that. A typical combination is an embroidered crest on the front pocket, a printed wordmark on the side panel and a small transfer on the PU collar tab. The constraint is sequencing: all three must be applied to flat panels before assembly, and the press must not run over an embroidery field. Keep at least 15 mm between different decoration types so each has its own clean edge.
How many stitches should a golf bag crest use?
A 90 x 70 mm crest with a border, two fill colours and a date line usually lands between 4,500 and 9,000 stitches at standard 4-5 stitches per millimetre density. Under 4,000 the fill looks thin and the base cloth shows through. Above 10,000 the badge becomes stiff, heavier and slower to sew, and the panel around it is more likely to pucker. Ask the digitister for a stitch count before approving, because that number is the price.
Does embroidery weaken 600D polyester?
Locally, yes. Each needle penetration cuts a few filaments, and a dense field can reduce grab strength across the embroidered area by 10-20%, which is why ASTM D5034 comparison against an undecorated control is worth running on structural panels. The effect is rarely a problem on a pocket face, but it matters near a strap anchor or a handle root. Backing, sane density and rounded stitch corners all reduce the loss.
Why does heat transfer film lift at the pocket edge?
Three causes, in order of frequency: the film was laid across a seam that flexes, the press pressure was uneven at the edge of the platen, or the panel carried mold release or plasticiser bloom when it was pressed. A film edge needs a flat, clean, continuous surface. Moving the mark 10 mm inboard, using a low-temperature grade, and wiping the panel before pressing solves most cases without changing the artwork.
Can screen printing wrap around a curved panel?
No, not with a flatbed screen. The screen contacts the panel on one plane, so a curved side pocket will print light or miss entirely toward the edges. The workarounds are to print the panel flat before it is shaped, to use a smaller mark that stays inside the flat area, or to switch to a transfer applied with a shaped platen. Attempting to force a wrap usually produces a distorted mark and a rejected lot.
What is the smallest text embroidery can hold on a bag?
With 60-weight thread and a clean digitised file, 3.5-4 mm cap height is the practical floor for legibility at arm length, and 5-6 mm is safer with standard 40-weight thread. Below that, letters fill in, counters close and the mark reads as a smudge from a metre away. For fine legal text or a website line, print or digital transfer is the honest answer rather than stitching it badly.
How long does logo sampling take?
Once artwork and placement are approved, a decoration strike-off takes 6-10 working days inside the normal sampling window. A bespoke print platen or a new embroidery hoop shape adds 12-15 working days. If the sample must be sewn onto a full bag rather than a panel, allow the full sample build time as well. Approving on a flat panel strike-off first is faster and catches most colour problems.
Do logos have to match Pantone across three methods?
They cannot match exactly, because ink, thread and film render colour differently on the same substrate. What you can do is specify one Pantone reference per colour, then approve a physical strike-off for each method and record the closest thread and film shades in the tech pack. Expect a visible difference between a printed reflex blue and an embroidered reflex blue; design around it by keeping mixed-method marks to one shared colour at most.
Will a printed logo crack when the bag folds?
A thick plastisol print will craze along a hard crease after repeated folding, especially in cold weather, because the cured ink film is far less flexible than the coated cloth beneath it. Thin ink deposits, water-based inks and placement away from fold lines all reduce the risk. If the mark must sit on a folding pocket flap, a soft transfer film usually outperforms a heavy print over the life of the bag.
What inspection level applies to logo placement?
Decoration is inspected to AQL 2.5 under ISO 2859-1, the same general level used for the rest of the bag, with placement and missing elements treated as critical defects. Define the datum and the tolerance in the tech pack, usually 3 mm, so the inspector has a number rather than an opinion. Photograph the approved position on a golden sample and keep it with the lot records.
Is there a minimum order for each logo method?
The programme minimum is 200 pieces per colourway for any decoration change, with a 100-piece trial order available and 500 pieces for a genuinely new development. Those numbers apply to all three methods; the difference is setup, not quantity. A one-colour print at 200 pieces is economical, while a four-colour digital transfer at the same quantity carries a setup charge that is hard to spread.
Send Your Artwork
Send the logo file with intended placements and colourways, and a method recommendation per position with cost per piece at 200 and 500 units comes back within two working days.
Request a Logo Quote See Custom Solutions